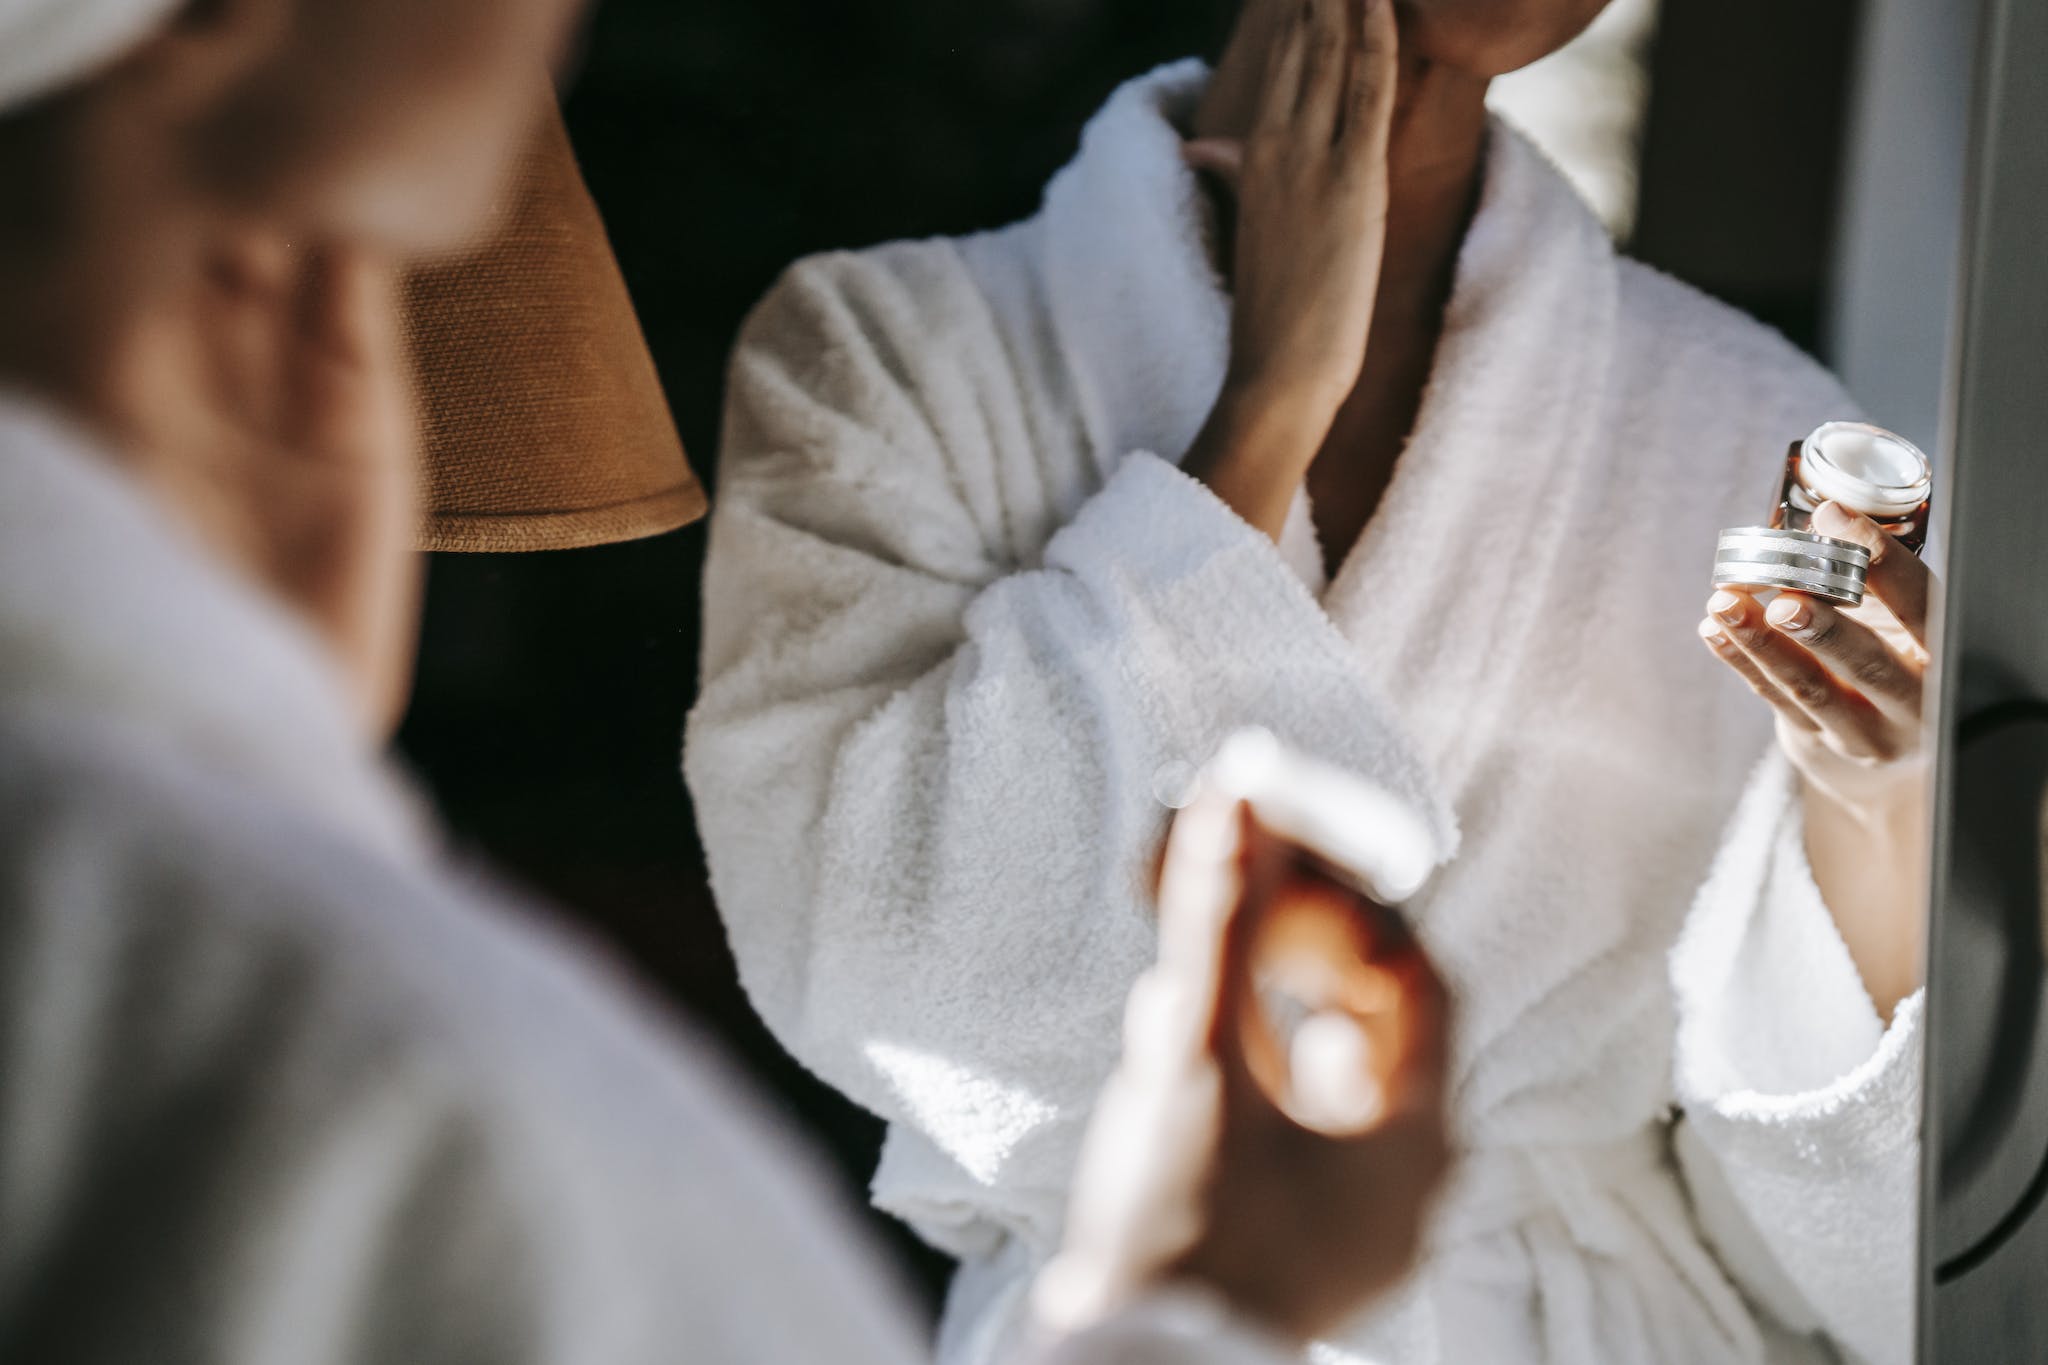
Tired of spending loads on fancy skincare? Well, there’s a cool solution—DIY Cold Cream. It’s an old trick for happy skin, and we’re here to show you how.
In this guide, we’ll help you make your own cold cream at home, with or without a thing called borax. We’ve got recipes for all skin types, so get ready to explore the world of DIY beauty and discover the joy of making your own skincare products!
What is Borax and Why Be Cautious?
Borax, also known as sodium borate, is a naturally occurring mineral that’s often used in various household products, including some skincare formulations. It’s sometimes used in cosmetics as an emulsifier, helping to mix oil and water-based ingredients together.
However, some people choose to avoid using borax in their homemade cosmetics due to concerns about its safety. Here’s why:
- Skin Sensitivity: Borax can be irritating to the skin, particularly for sensitive skin. It may cause redness, itching, or other allergic reactions in some people.
- Environmental Impact: Borax mining and its environmental impact are also considerations. Some prefer to use alternative ingredients to reduce their ecological footprint.
- Controversial Safety Status: The safety of borax in cosmetics is a topic of debate. While regulatory bodies have deemed it safe in certain concentrations, some individuals prefer to err on the side of caution, especially for products applied directly to the skin.
DIY Cold Cream Basics-Ingredients and Sources Breakdown
Let’s talk about what goes into making DIY Cold Cream:
Base Ingredients:
- Beeswax: Think of it as the main ingredient that makes your cream smooth.
- Oils (like almond, olive, or coconut): These are the oils that make your cream feel good on your skin.
- Purified water: Adds a bit of hydration, making sure your cream isn’t too thick.
- Emulsifying Agent: This helps mix the oils and water together so they don’t separate.
Optional Add-ins for Customization:
- Essential Oils: Like adding your favorite flavor, but for your skin!
- Aloe Vera Gel: It’s like a cool drink for your skin.
- Vitamin E Oil: Gives your skin a little extra boost.
Essential Tools for Making Cold Cream
The tools you’ll need—it’s basically a mini kitchen for your skincare!
- Double Boiler or Microwave-Safe Bowl: Just like when you’re cooking, but for your cream.
- Whisk or Hand Mixer: To mix everything together until it’s nice and creamy.
- Sterilized Jars or Containers: Clean pots for your cream to live in.
Safety Precautions
Here are a few things to keep in mind:
- Hygiene: Wash everything really well so your cream stays clean.
- Allergen Awareness: Make sure you’re not allergic to anything by testing a little bit first.
- Storage: Keep your cream in a cool, dark place to make it last longer.
Now that we’ve got our ingredients and tools ready, let’s dive into making cold cream—first, without using borax!
DIY Cold Cream Recipe without Borax
Ingredients
To make your simple and safe DIY cold cream, grab these ingredients:
- Beeswax (2 tablespoons): It’s like the magic that makes your cream solid but smooth.
- Almond Oil (1/4 cup): This oil is super good for your skin and makes your cream feel rich.
- Coconut Oil (2 tablespoons): Adds a touch of luxury and softness to your cream.
- Water (2 tablespoons): Keeps things hydrated but not too watery.
- Essential Oil (like Lavender or Chamomile, 10 drops): This makes your cream smell nice and could have some extra benefits.
Step-by-Step Instructions
Here’s the fun part—making your own cold cream at home:
- Melt the Beeswax: Heat up the beeswax until it turns into a liquid. Think of it like melting chocolate but for your cream.
- Combine Oils: Mix in almond oil and coconut oil until everything is blended together.
- Emulsify with Water: Slowly add water while stirring to create that creamy texture.
- Add Essential Oil: Once it cools a bit, mix in your favorite essential oil for a lovely scent.
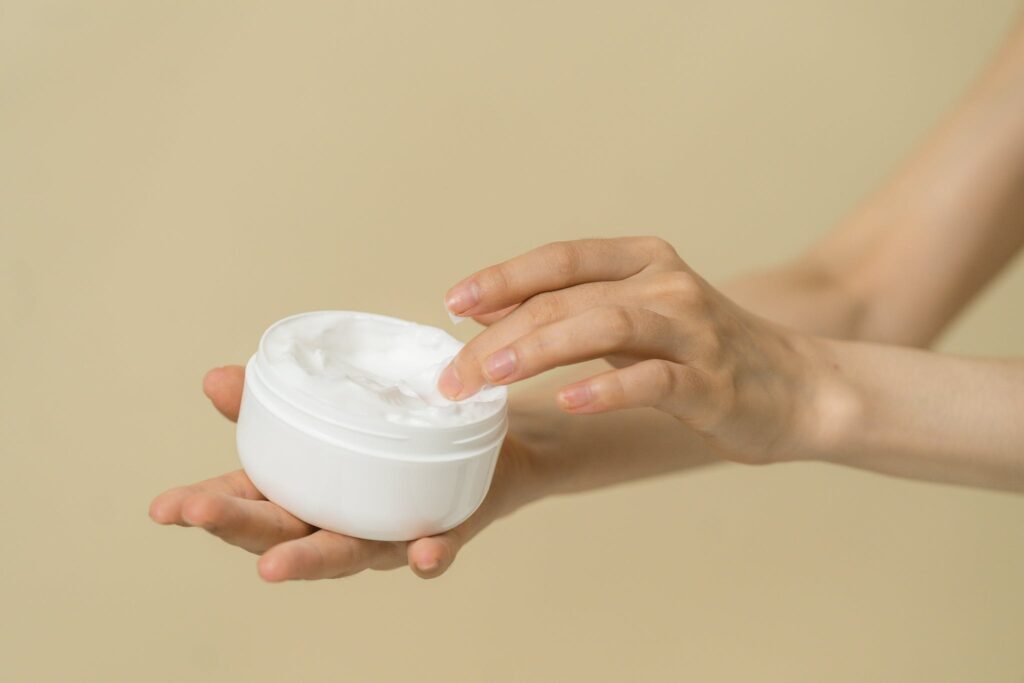
- Transfer to Container: Pour the mix into a clean jar and let it cool to become your own homemade cold cream.
Tips and Variations
- Play with Essential Oils: Try different scents for your cream.
- Adjust Texture: Make it thicker or lighter by changing the amount of beeswax.
- Extra Hydration: If your skin needs more moisture, you can add a bit of aloe vera gel.
DIY Cold Cream Recipe with Borax
Ingredients
For a slightly different twist with borax, gather these ingredients:
- Beeswax (1 tablespoon): The mainstay for a smooth texture.
- Almond Oil (1/4 cup): A reliable source of skin-loving nutrients.
- Coconut Oil (2 tablespoons): Adds a touch of luxury and softness.
- Water (2 tablespoons): Keeping things hydrated, as always.
- Borax (1/2 teaspoon): This acts as a helper to keep everything mixed up.
- Essential Oil (like Geranium or Tea Tree, 10 drops): For a nice fragrance and some extra benefits.
Step-by-Step Instructions
Let’s create a stable emulsion with borax:
- Melt the Beeswax: Like before, melt the beeswax until it becomes a liquid.
- Combine Oils: Add almond oil and coconut oil, stirring until everything is well combined.
- Emulsify with Borax: Mix borax with water and slowly add it in while stirring. This helps to keep the cream smooth and stable.
- Add Essential Oil: Once it cools a bit, mix in your chosen essential oil for a delightful scent.
- Transfer to Container: Pour the emulsified mixture into a clean jar and let it cool to become your homemade cold cream.
Pros and Cons of Using Borax
Why should you use it
- Stable Mix: Borax helps keep everything well-mixed for a longer time.
- Extended Shelf Life: Your cold cream might last a bit longer with borax.
Why should you avoid it
- Possible Sensitivity: Some people may be sensitive to borax, so be cautious.
- Environmental Considerations: Borax has environmental concerns, so exploring eco-friendly alternatives is a good idea.
Homemade Cold Cream for Skin Types

Now, let’s get personal with your DIY cold cream! Depending on whether your skin is dry, oily, or a mix of both, we’ve got a homemade solution just for you.
Homemade Cold Cream for Dry Skin
1. Ingredients
- Beeswax (2 tablespoons): Gives a smooth feel.
- Avocado Oil (1/4 cup): Loads your skin with hydration.
- Shea Butter (1 tablespoon): Adds extra moisture.
2. Application and Benefits
- Use before bedtime for overnight hydration.
- The mix helps soothe dryness and keeps your skin soft.
Homemade Cold Cream for Combination Skin
1. Ingredients
- Beeswax (1.5 tablespoons): Keeps things smooth.
- Jojoba Oil (1/4 cup): Balances skin oils.
- Rosehip Seed Oil (1 tablespoon): Nourishes without making things too oily.
2. Application and Benefits
- Apply daily for a balanced touch.
- Jojoba oil controls excess oil, while rosehip seed oil supports skin balance.
Homemade Cold Cream for Oily Skin
1. Ingredients
- Beeswax (1 tablespoon): Keeps it smooth.
- Grapeseed Oil (1/4 cup): Light and non-greasy.
- Witch Hazel (1 tablespoon): Natural astringent to control oil.
2. Application and Benefits
- Use a little to avoid making your skin too oily.
- The mix helps balance oil without clogging pores.
Homemade Cold Cream for Acne-Prone Skin
1. Ingredients
- Beeswax (1.5 tablespoons): The smooth base.
- Tea Tree Oil (10 drops): Known for fighting bacteria.
- Hemp Seed Oil (1/4 cup): Moisturizes without causing acne.
2. Application and Benefits
- Use as a spot treatment on acne-prone areas.
- Tea Tree Oil fights bacteria, while hemp seed oil adds moisture without causing more breakouts.
Specialized Cold Cream Formulas
Now, let’s get into the nitty-gritty of catering to specific parts of your body. From your face to your hands, legs, and even for those with eczema-prone skin—we’ve got a DIY cold cream for every need.
Homemade Cold Cream for the Face

1. Ingredients
- Beeswax (1.5 tablespoons): For that smooth feel.
- Argan Oil (1/4 cup): Loaded with antioxidants and vitamins.
- Frankincense Essential Oil (10 drops): Known for its skin-renewing properties.
2. Application and Tips
- Use a small amount in your morning and evening routine.
- Argan oil and frankincense together promote elasticity and give your skin a radiant glow.
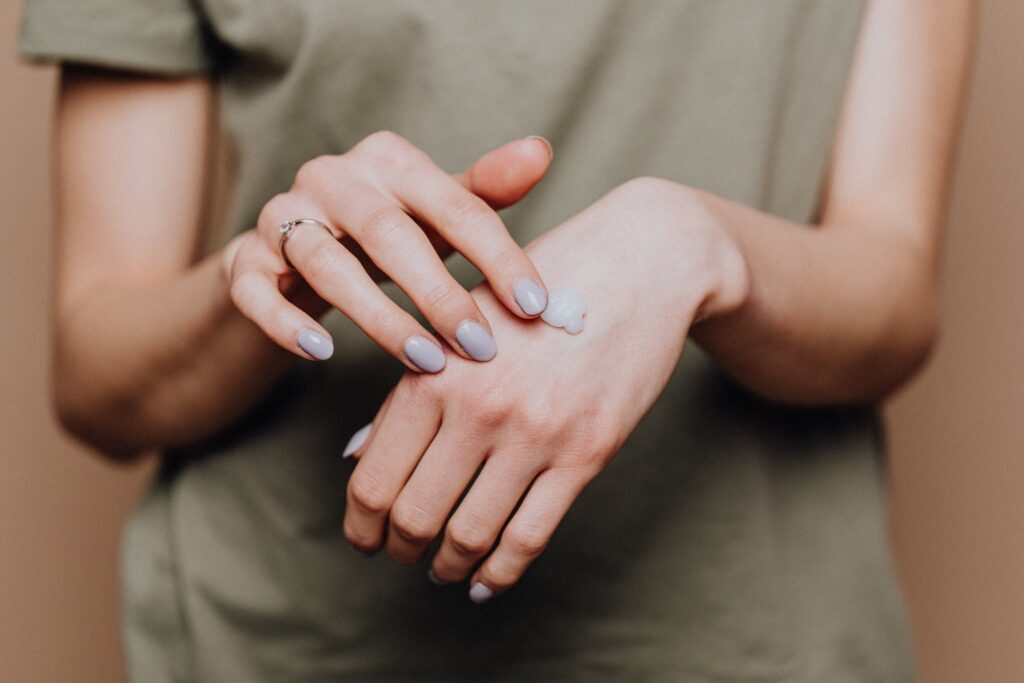
Homemade Cold Cream for Hands
1. Ingredients
- Beeswax (1.5 tablespoons): The base for smoothness.
- Shea Butter (1/4 cup): Adds intense moisture.
- Vitamin E Oil (1 teaspoon): Supports skin repair.
2. Application and Benefits
- Use throughout the day, especially after washing your hands.
- The mix of shea butter and vitamin E keeps your hands soft and happy.
Homemade Cold Cream for Legs

1. Ingredients
- Beeswax (2 tablespoons): For smooth application.
- Sweet Almond Oil (1/4 cup): Soothes and moisturizes.
- Peppermint Essential Oil (10 drops): Gives a cool, refreshing feeling.
2. Application and Soothing Effects
- Apply after a shower or before bedtime.
- The combo of almond oil and peppermint essential oil invigorates and soothes tired legs.
Homemade Cold Cream for Eczema-Prone Skin
1. Ingredients
- Beeswax (1.5 tablespoons): Smooth base.
- Calendula-Infused Oil (1/4 cup): Known for its anti-inflammatory properties.
- Oatmeal Powder (1 tablespoon): Soothes irritated skin.
2. Application and Considerations
- Apply to affected areas as needed.
- Calendula-infused oil and oatmeal powder offer gentle care for eczema-prone skin.
Storage and Shelf Life

Proper Storage Techniques
Making your cold cream is awesome, but keeping it fresh is crucial. Here’s how to do it:
- Cool, Dark Place: Store your homemade cold cream away from sunlight and heat to keep it happy.
- Air-Tight Containers: Put your cream in a jar that seals tight. Less air means a longer shelf life.
- Clean Hands and Tools: When handling your cream, make sure your hands and tools are clean. This helps prevent any nasty surprises.
Shelf Life Expectancy
- Without Borax: If your cold cream doesn’t have borax, use it within 2-3 months for the best results.
- With Borax: If you’ve added borax, your cream might last 4-6 months if you store it right.
- Check for Spoilage: If your cream changes color, texture, or smells weird, it might be time to say goodbye.
Signs of Spoilage
- Separation: If your cream starts to separate, it’s like a friendship falling apart—time to let it go.
- Unpleasant Odor: If your cream smells off, it’s like spoiled milk—best not to use it.
- Change in Color: If your cream changes color, it’s like a chameleon—cool, but not a good sign.
By choosing to go DIY, you’re not only saving money but also contributing to a more sustainable and mindful approach to beauty. Cheers to the beautiful journey you’ve begun, and here’s to the glowing, well-nurtured skin you’ll continue to cherish!
8 Comments