If you’re a fan of nail extensions or artificial nails, you’ve probably come across the term “solar nails” before. But what exactly are they?
Solar nails are a type of acrylic nails that are known for their durability and long-lasting nature.
They are created by combining a special type of acrylic powder with a liquid monomer to form a strong, resilient nail enhancement. Solar nails look more natural and are less prone to yellowing than traditional acrylic nails.
Also, Solar nails are also easier to remove than acrylic nails. And we are going to guide you on how to remove solar nails at home.
All you need are a few easily available supplies and follow the below-mentioned simple steps.
What are the ways to remove solar nails?
To remove solar nails, you have two options:
- Professional removal
- DIY removal
If you opt for professional removal, it’s best to visit your trusted nail technician who will use specialized tools and techniques to safely take off your solar nails without causing damage to your natural ones.
On the other hand (no pun intended), if you prefer the DIY route, here are some easy steps you can follow at home.
Step-by-Step Guide to remove solar nails at home
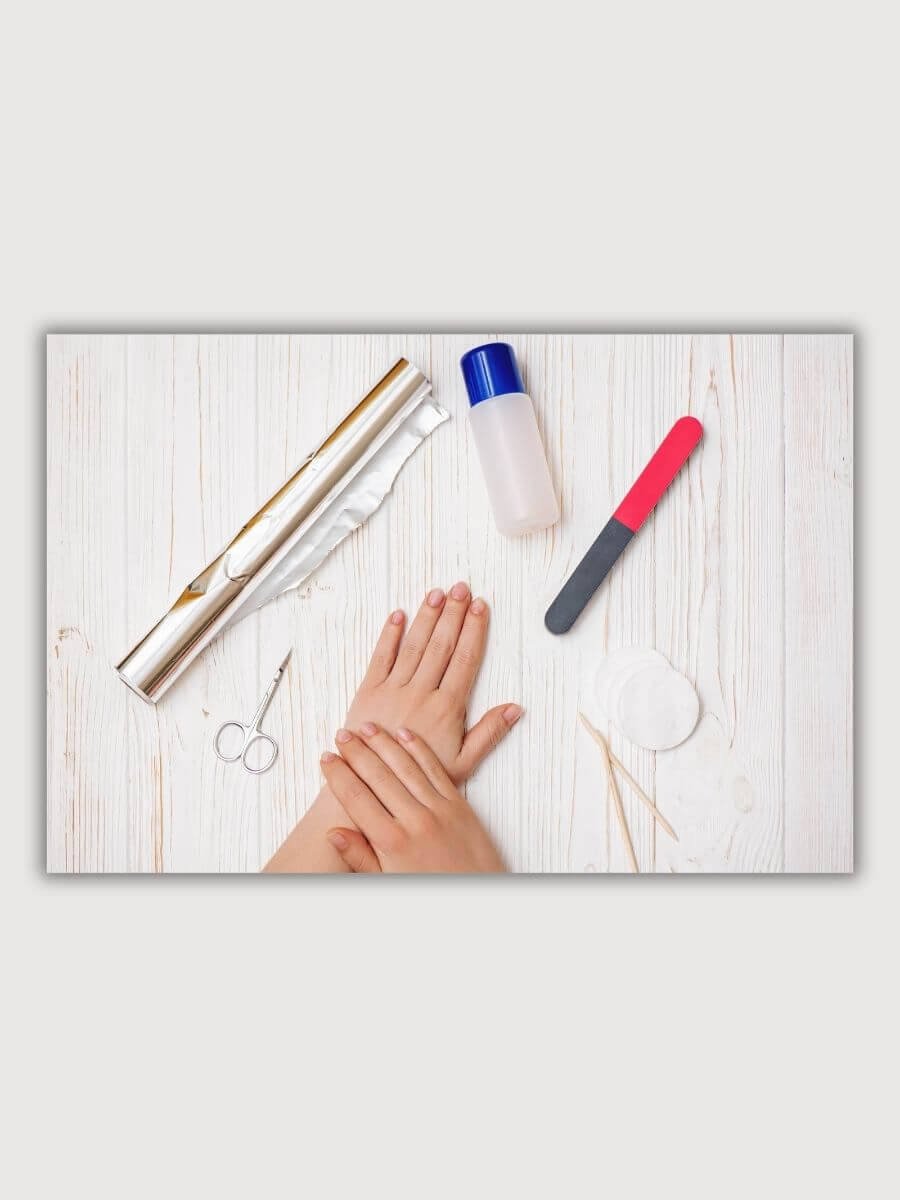
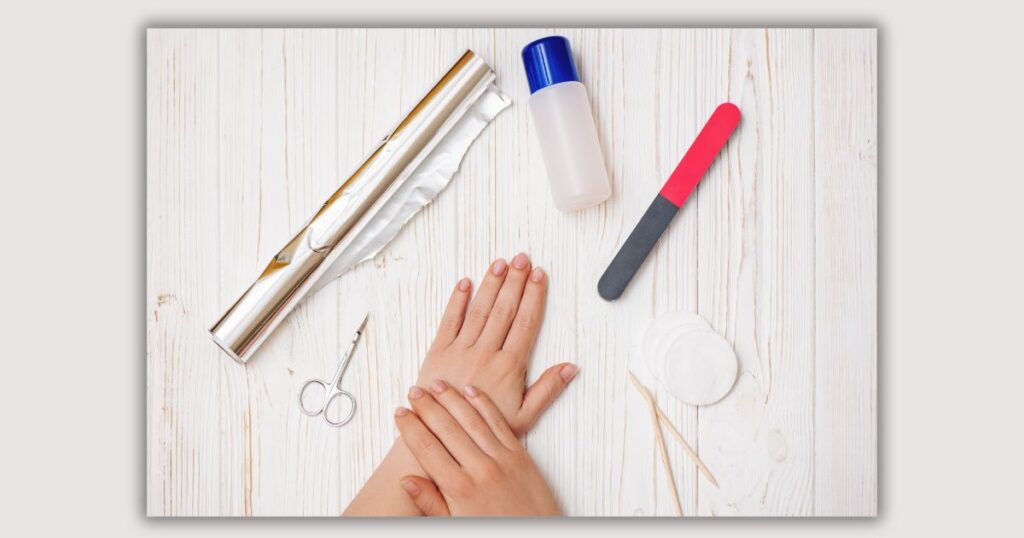
Gather Your Supplies
Here’s what you’ll need:
- Acetone-based nail polish remover
- Cotton balls or pads
- Aluminum foil: Cut small squares of aluminum foil, big enough to wrap around each finger. This will help keep the cotton balls in place and prevent evaporation of the nail polish remover.
- Nail file/buffer: You’ll need a file or buffer to gently buff away any remaining polish after soaking your nails.
- Cuticle oil: After removing your solar nails, it’s important to moisturize and nourish your cuticles with cuticle oil. This will help keep them healthy and prevent dryness.
- Bowl of warm water
- Hand moisturizer
How to remove solar nails in 7 steps?
Step 1: Preparing Your Nails for Removal

Firstly, gently file down the top layer of your solar nails using a coarse nail file. This helps break through the sealant and makes it easier for the next step – soaking your nails in acetone.
Step 2: Preparing Acetone Soak for Nail Softening

To start. You’ll need a small bowl or container deep enough to fit fingertips, acetone (which you can find at most drugstores or beauty supply stores), and some cotton balls or pads.
Next, pour enough acetone into the bowl to fully submerge your nails. You don’t need a lot just enough to cover them.
Now, it’s time to soak! Dip your fingertips in the acetone and let them sit for about 10-15 minutes. This will give the acetone enough time to work its magic and loosen up your solar nails.
After the soaking time is up, carefully remove your fingers from the bowl and gently wipe away any excess acetone with a clean cotton ball or pad.
Step 3: Applying Aluminum Foil Wraps to Enhance Acetone Penetration

You’ll need some aluminum foil and acetone-soaked cotton balls or pads to get started.
Simply wrap each nail individually with a small piece of foil, making sure to secure it tightly around the fingertip. This creates a sealed environment that helps the acetone penetrate deeply into the layers of polish or gel.
Leave the foil wraps on for about 10-15 minutes to allow enough time for the acetone to break down the acrylic. During this time, you can relax, catch up on your favorite TV show, or indulge in self-care.
Step 4: Gently Remove the Softened Solar Nails

After the time is up, remove the foils and cotton wraps. Gently push off the softened solar nails using a cuticle pusher. Be cautious not to force the nails, as this could damage your natural nails.
Take a cuticle pusher or an orangewood stick and gently push back the softened solar nail from your natural nail bed. Be careful not to apply too much pressure or force, as you don’t want to damage your natural nails.
Once you’ve pushed back the solar nail, use a gentle twisting motion to loosen it further. This will help separate it from your natural nail without causing any unnecessary pain or discomfort.
Slowly lift and peel off the softened solar nail from one side to another, working your way toward the free edge of your natural nail. Take your time with this step to ensure that you’re not pulling or tearing at your natural nails.
If you encounter any resistance while removing a particular section of the solar nail, stop and soak that area again for a few more minutes until it softens up further.
Step 5: Buff and Shape

Once the solar nails are removed, use a nail buffer to gently buff away any remaining residue. Shape your natural nails to your desired length and shape.
Step 6: Hydrate Your Nails

Soak your nails in a bowl of warm water to hydrate them. This helps restore moisture after the acetone exposure.
Step 7: Apply Cuticle Oil and Moisturizer

Make sure to moisturize your hands and nails regularly with a nourishing hand cream or cuticle oil. This will help keep your nails hydrated and prevent them from becoming brittle or dry.
One Comment